
Project: Primary Bedroom Closet
How Much: $1,700
How Long: 2 days. 1 for prep, 1 for installation.


Better quality of life for $1500? Yes, please!
I didn’t know that we needed a new closet until we got a new closet. Thankfully my husband both recognized the need and knew where to go for a solution.
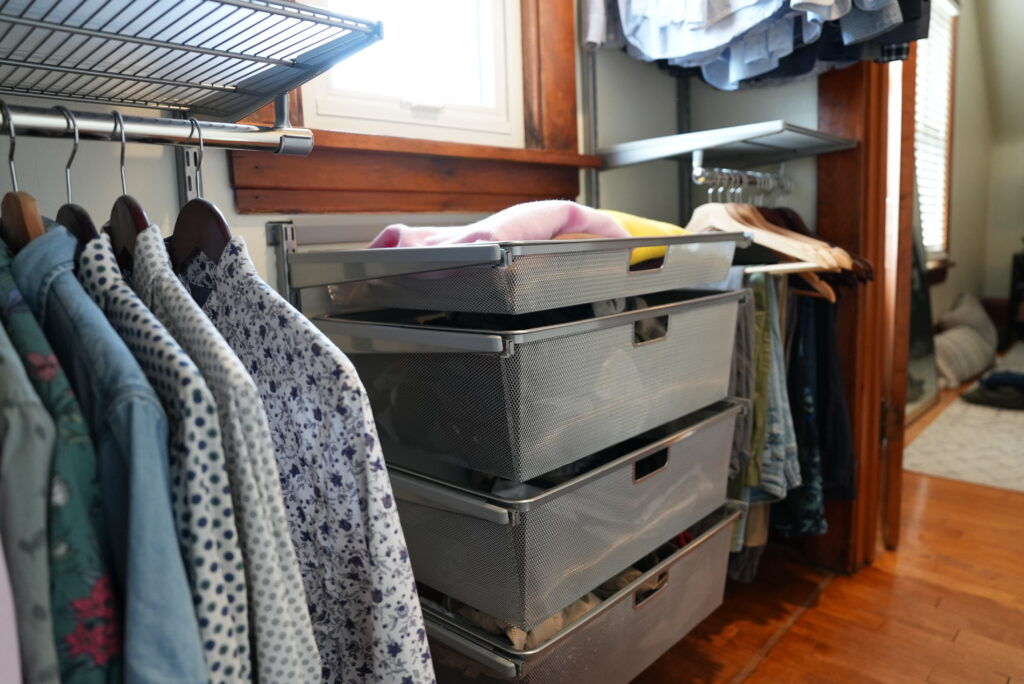
Our 1911 home has a small closet off the primary bedroom that is pretty typical for the era. It’s tucked under a dormer, has an irregular shape, and it has a window. We inherited a rudimentary organization system from the previous owners that wasn’t working for us. As bought, the system had some built-in posts, two bars for hanging clothes, and a shelf for stacking clothes. We’re still grateful to the previous owners for their work but we couldn’t keep our clothes organized in their system.
And you can tell. Look at the pile of clothes on that shelf. We could never find things when we wanted to find them.
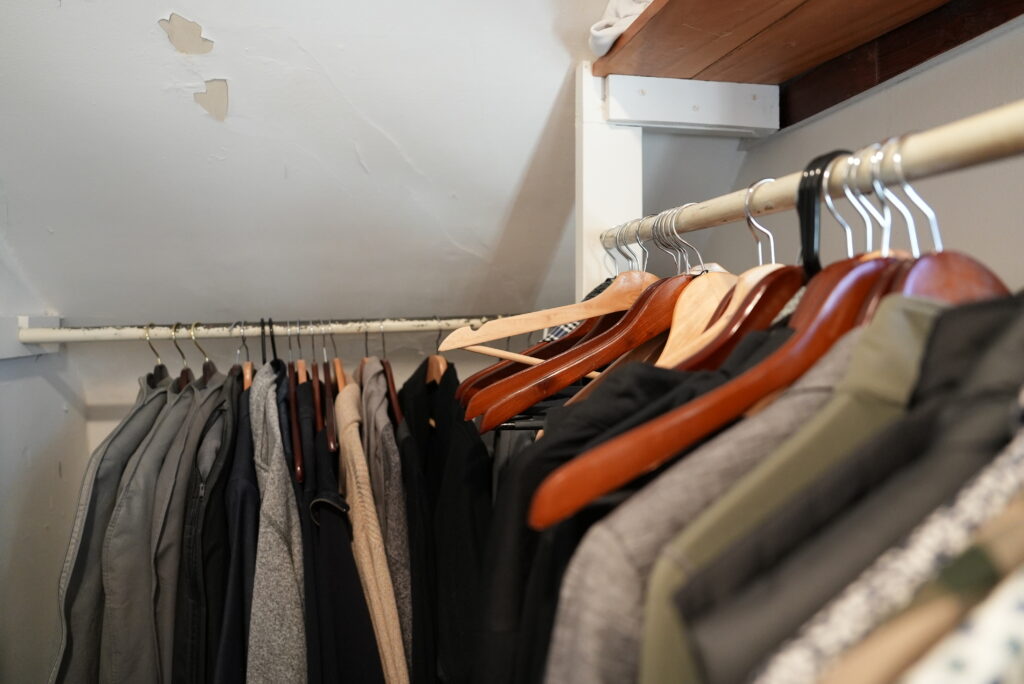
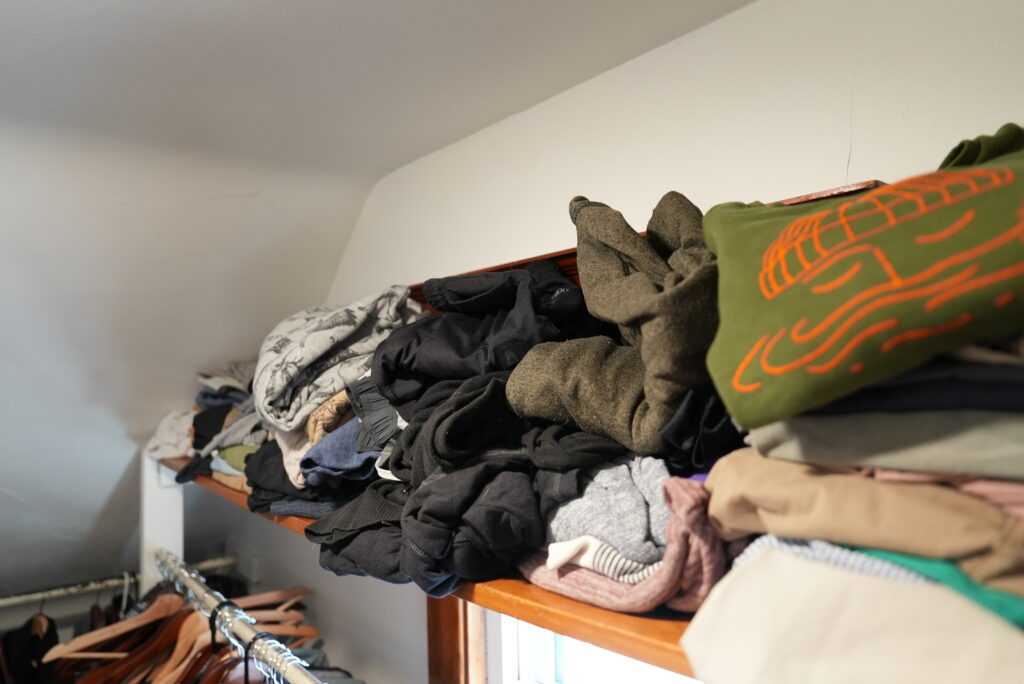
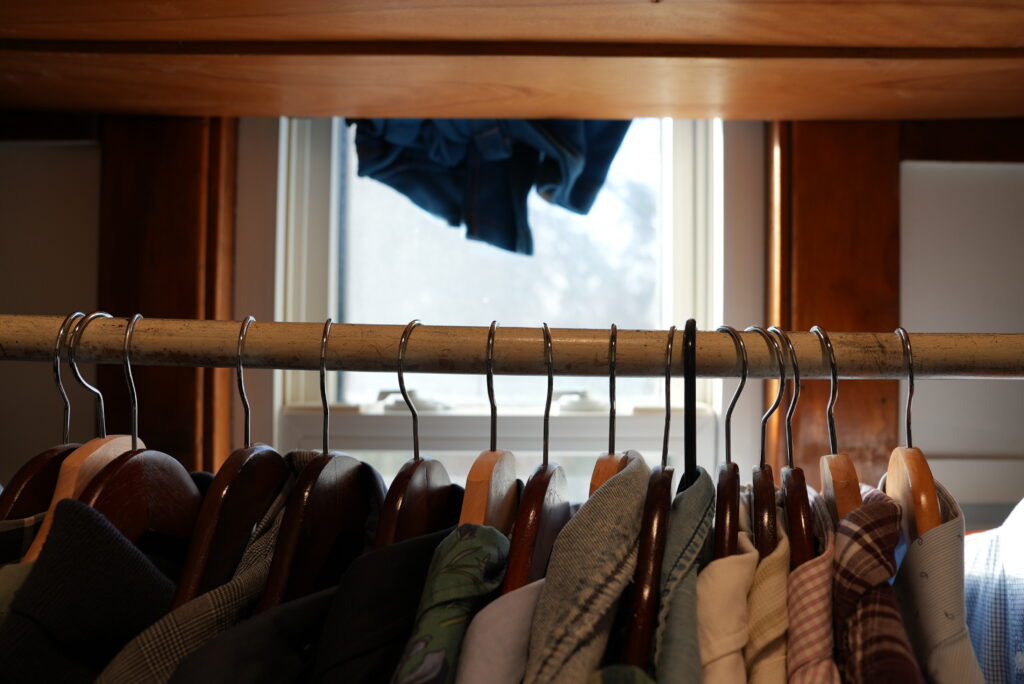
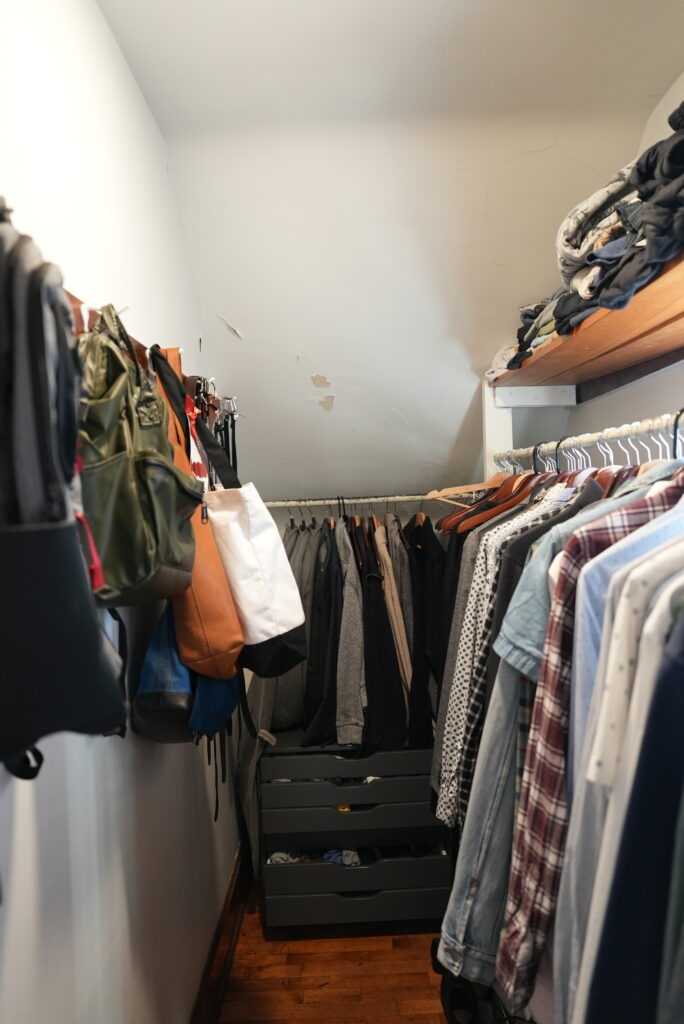
Also, the materials in the old closet had clearly seen a great deal of wear and tear. The color on the rods had worn way, the shelf bowed under the weight of our sweaters, and the space wasn’t maximized. Also – the clothes blocked the window (which we didn’t like) and they were visible through the window to our neighbors (which nobody could possibly like). Frankly, the problems with this closet were obvious, we just had so many other projects to tackle that the appearance of our closet didn’t rank as a high priority.
Too. Many. Clothes.
One thing that we should clarify is that we definitely had too many clothes in too small a closet. It would have cost us exactly $0 to donate the clothes that we didn’t wear and then organize our remaining clothes within the closet system that we already had. My husband was not on board with that plan. He insisted that we move forward with the new system before donating any old clothes.
This bothered me because it was clear that if we bought a new closet system without correcting our bad habits then we’d end up having a new closet and the same problems. We had to agree to stop bringing in new clothes without removing old clothes. We also have to stop accepting clothes from other people (parents, employers, volunteer organizations) if we’re not going to wear them. We can’t keep bringing in new stuff without getting rid of the old stuff. And if you’re unwilling to get rid of the old then you have to stop bringing in the new.
The Design Process
Cards on the table, we had a professional from The Container Store design our closet system. I really recommend going there because the cost of the design services are built into the cost of the materials. So it feels like you’re getting them for free! You’re not. That feeling is psychological. But it feels good so – enjoy it.
Our design consultation took around 15 minutes but was clear pretty quickly that we were unprepared. We walked in with a few photos of the closet and a rudimentary drawing of what we wanted but – really – the more information that you bring in, the better.
For instance, the designer wanted to know how high the baseboards were. We had no idea. She wanted to know how far into the closet you could go before the ceiling started to slope. We definitely didn’t measure that. But we were really lucky because even though the measurements that we brought in were insufficient, our closet is pretty typical for the area so she was able to make some assumptions based on previous experience.
Preparation
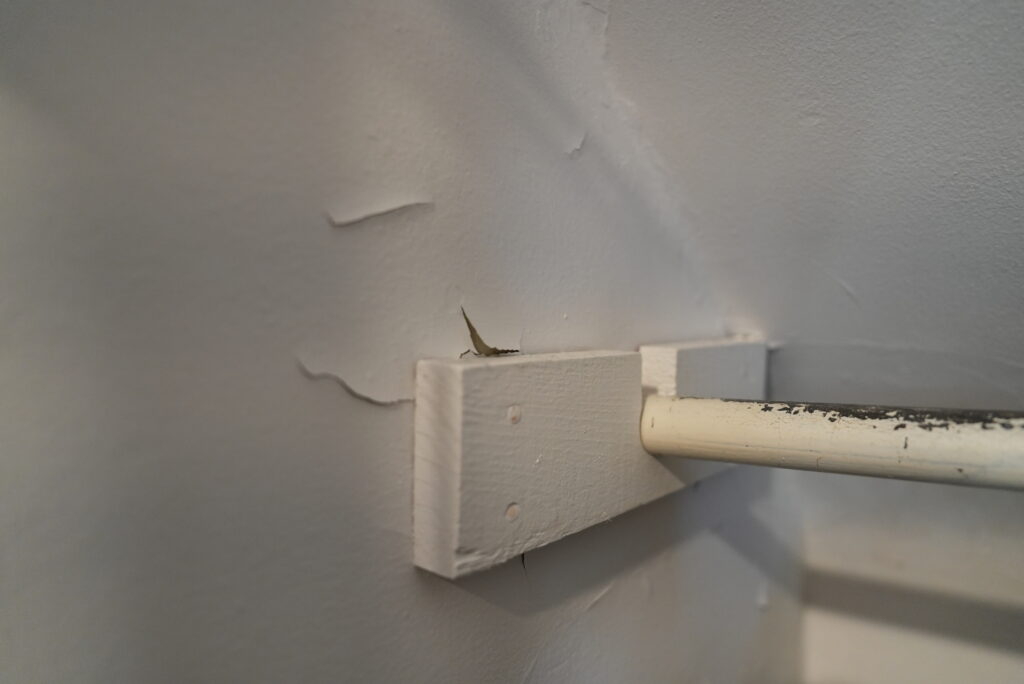
As always, preparation is key. For this project we removed the old post, shelf, and rods. My husband and mother-in-law did all of this work. They spackled over all the holes left by the previous shelves and removed the hooks from the left side of the wall. Generally, the process was smooth. Unfortunately they did run into trouble when it was time to paint. If you look closely at the previous photos you can see that the paint was coming off the walls. They did scrape that old peeling paint off before spackling over it. But later on when they painted the closet, the wet paint on the roller peeled the old paint on the wall.
We guess that there were some insulation or moisture concerns in that room that caused the paint to separate from the wall but we honestly have no idea. Maybe it was the type of paint that they used back in the day? Literally – unsure. We were on a deadline so my husband and mother-in-law just painted over things as well as they could and now we have some slight imperfections that we’ll chalk up to character.
Once the closet was empty and painted it was good to go.
Installation
The installation of the new closet system was incredibly smooth. We purchased installation through The Container Store and will absolutely do so again. The installer showed up early and got right to work. What we really liked about The Container Store doing the installation is that we knew our measurements were off. Like – there is no way that what we we drew and brought into the store to the designer was enough for her to create a perfect design. But – and this is key – their installers are able to cut the pieces on site. And apparently he had to cut almost every piece. But that’s what made it work.
If we’d tried to do that ourselves it would have been terrible and I would have been really unhappy with the result.
Finished Product
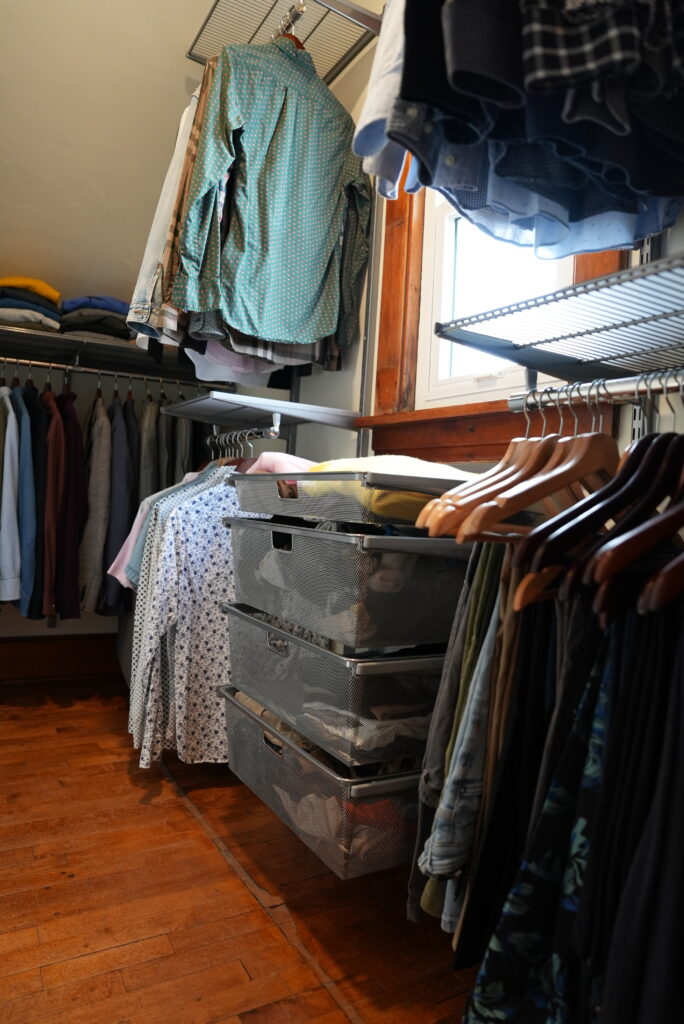
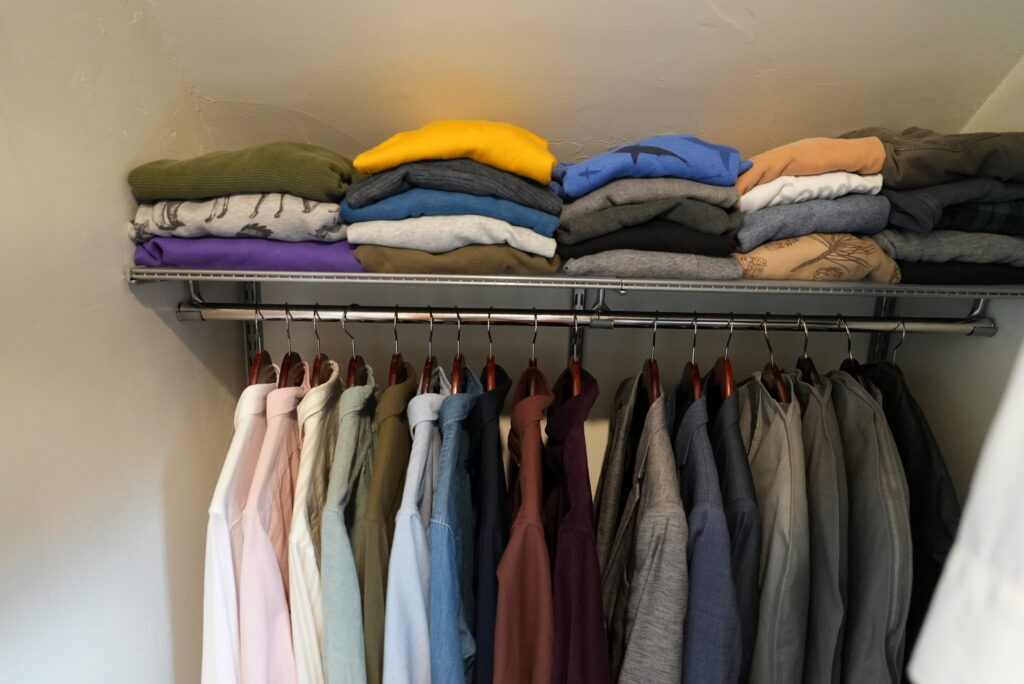

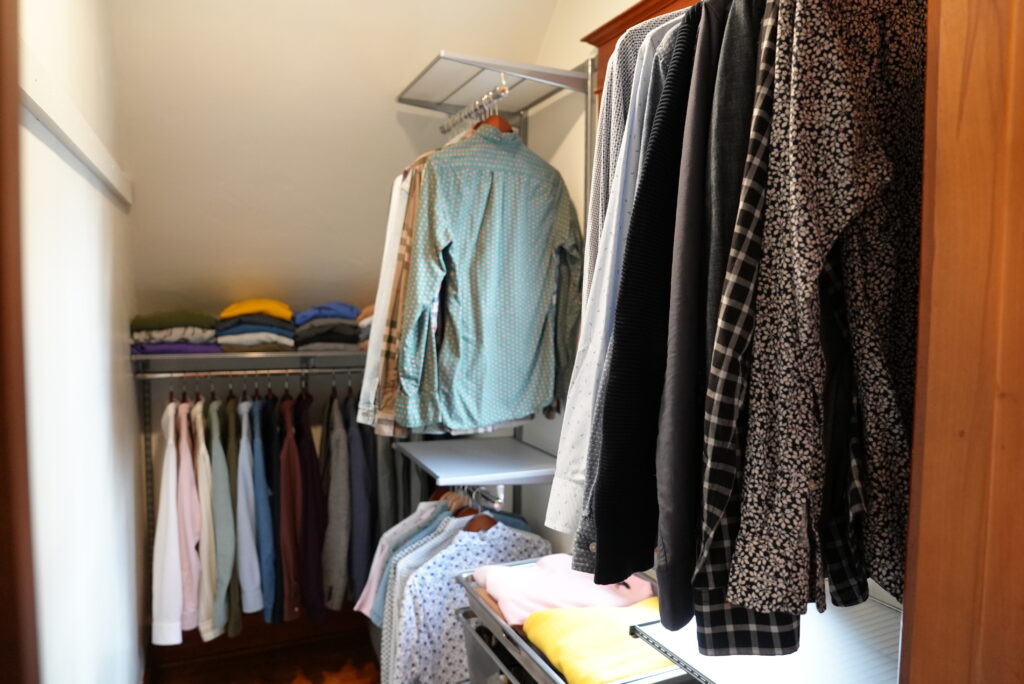
We’re REALLY happy with the finished product. In fact the closet looks SO GOOD that Aaron was willing to donate even more clothes so that the clothes in the closet wouldn’t look cluttered. So in this case having a more organized space has led to us having a more organized life. Which – I love.
It’s also really nice to have all the light from the window in that space. We don’t spend a lot of time hanging out in there but it feels very homey and very custom. And the closet definitely feels more expensive than it actually is.
All told we spend around $1700 on this closet. $1500 of that went to The Container Store. We made our purchase during a 30% off sale so be sure to look for those. I bill out volunteer hours at around $24/hr and my husband and his mom spent maybe a half day prepping the space for installation. That accounts for the additional $200.
I hope that this helps you prepare for any updates to your home! I’d LOVE to hear all about your projects in the comments!
Discover more from Jerome Evans
Subscribe to get the latest posts sent to your email.
