
Project: Upstairs Bath
How much: $10,000
How long: 6 weeks


How it started
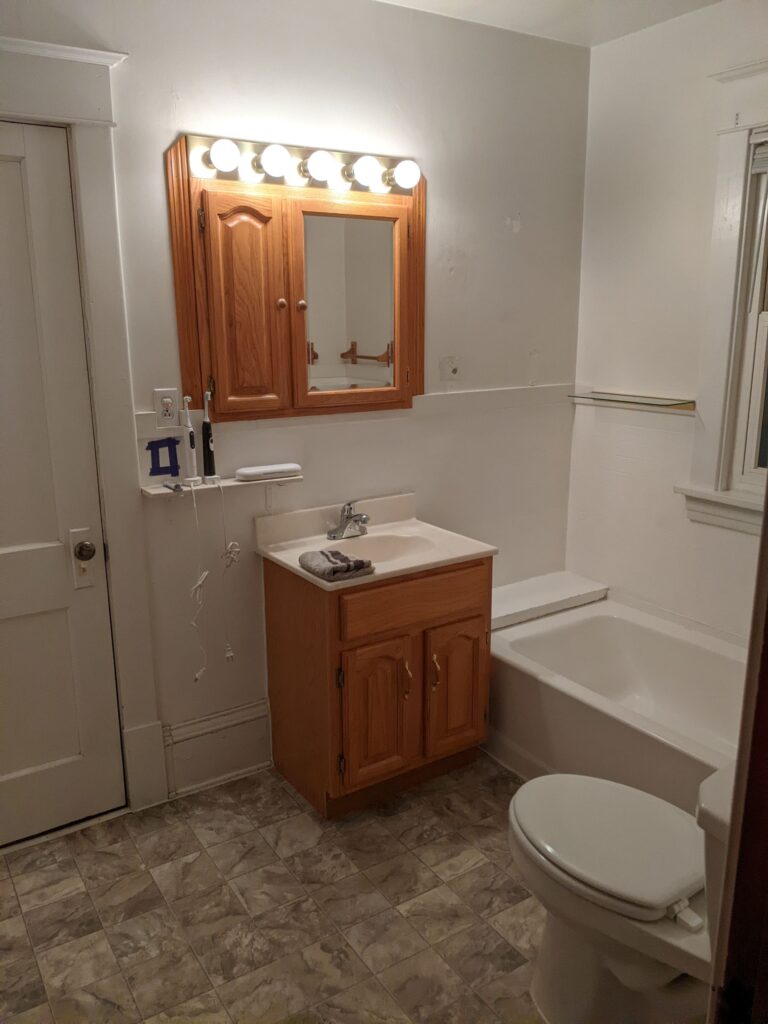
When we bought our fixer-upper we knew that we would need to do some work. But more than anything, we were happy that our extended house-hunt was over. It was late 2021, interest rates were low, and the market was shank or be shanked. So when the realtor called and said that someone else’s offer had fallen through and that ours would now be accepted – we were thrilled! But in our rush to get to the closing table, we missed a few important things.
Probably the biggest thing we missed is that the primary bathroom did not have a shower. For some people that might not be a big deal but, for us, the lack of a shower was a big problem. In our previous condo a long hot shower is how we started our day, it was a place to retreat to when we needed some alone time, and it was also a space to spend some not-so-alone time. We needed to install a shower or our quality of life would be greatly diminished.
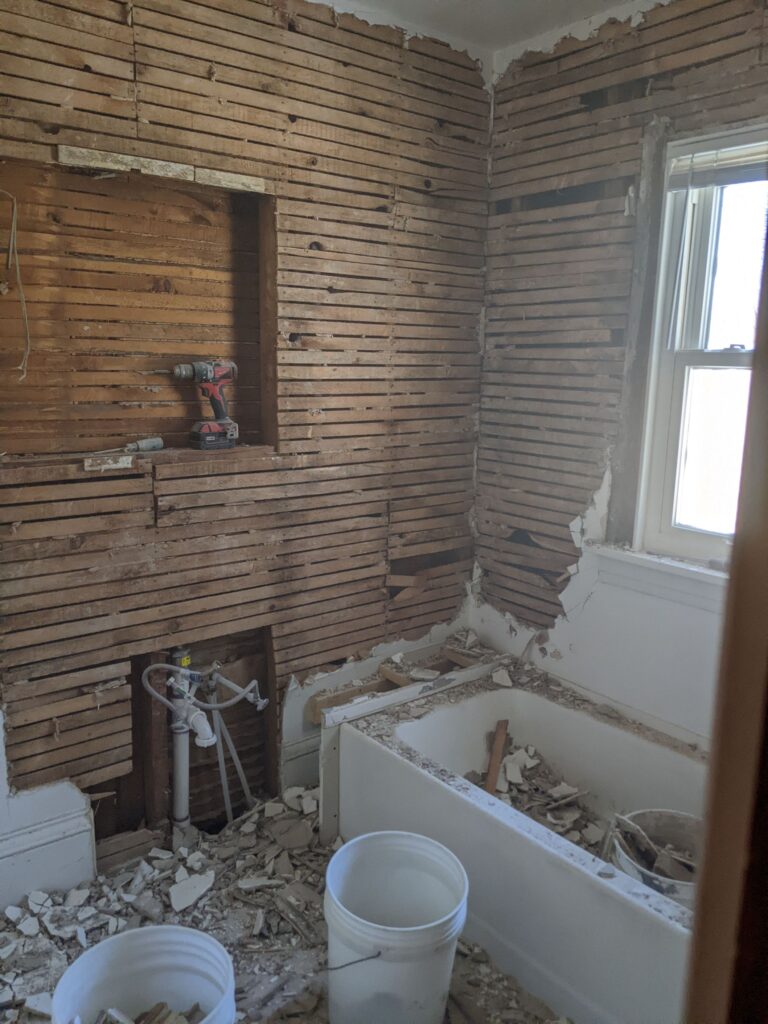
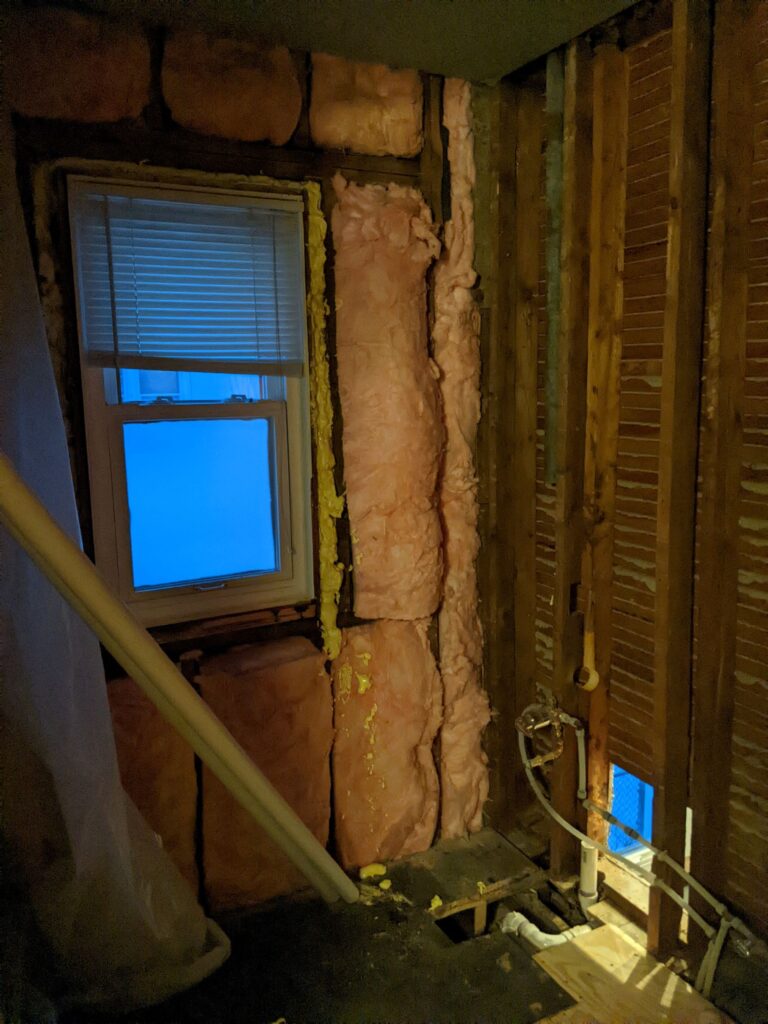
Our first inclination was to DIY. We’d just bought the house and were feeling pretty broke. We’re also both quick learners and somewhat handy! But around this time I was doing screen tests as we prepared to launch the show, our dog had just been altered and needed special attention, and there were some pretty big eyebrow-raising concerns in that bathroom that needed to be addressed, like:
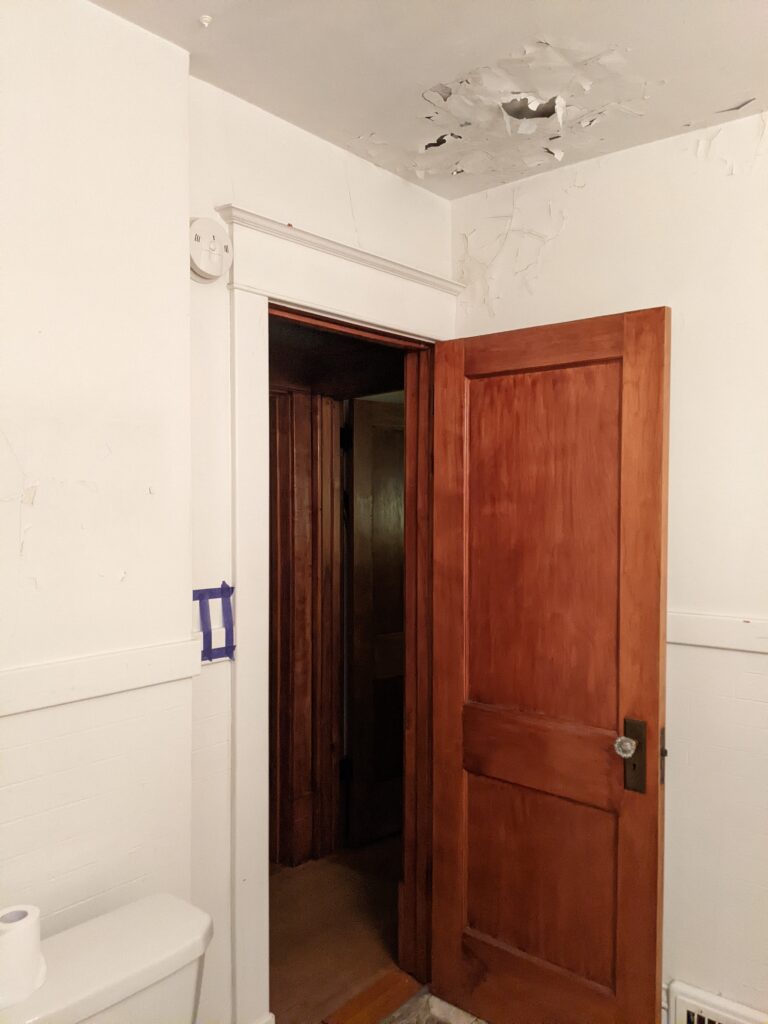
- the hole in the ceiling,
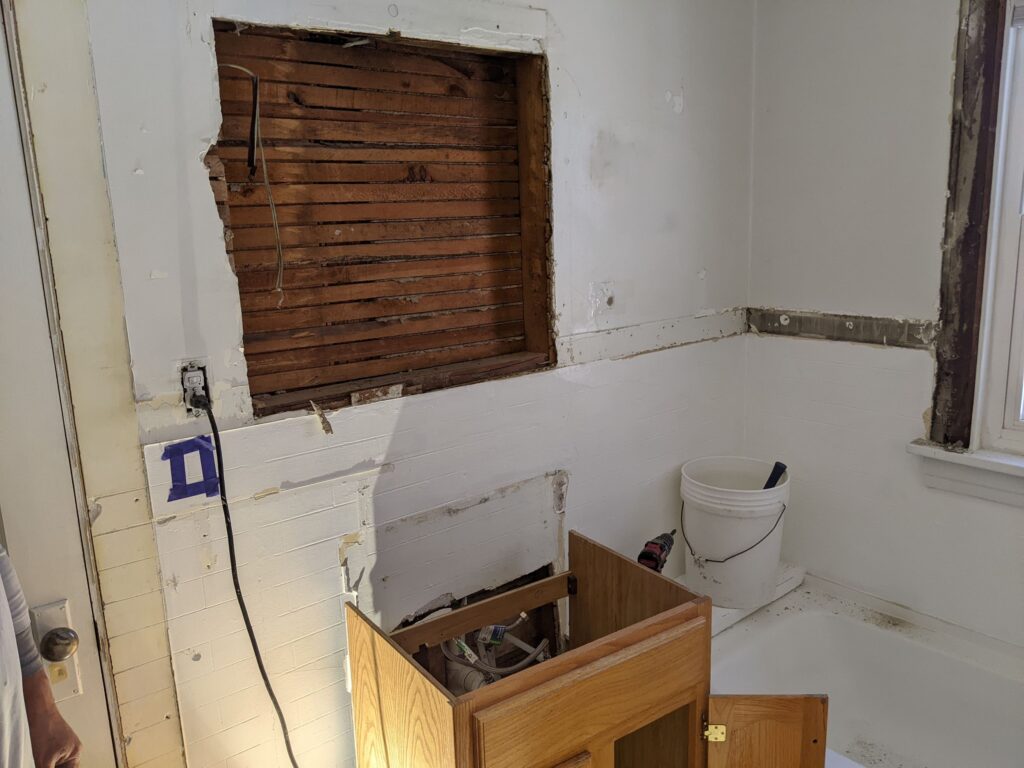
- a squishy subfloor beneath the vinyl flooring, and
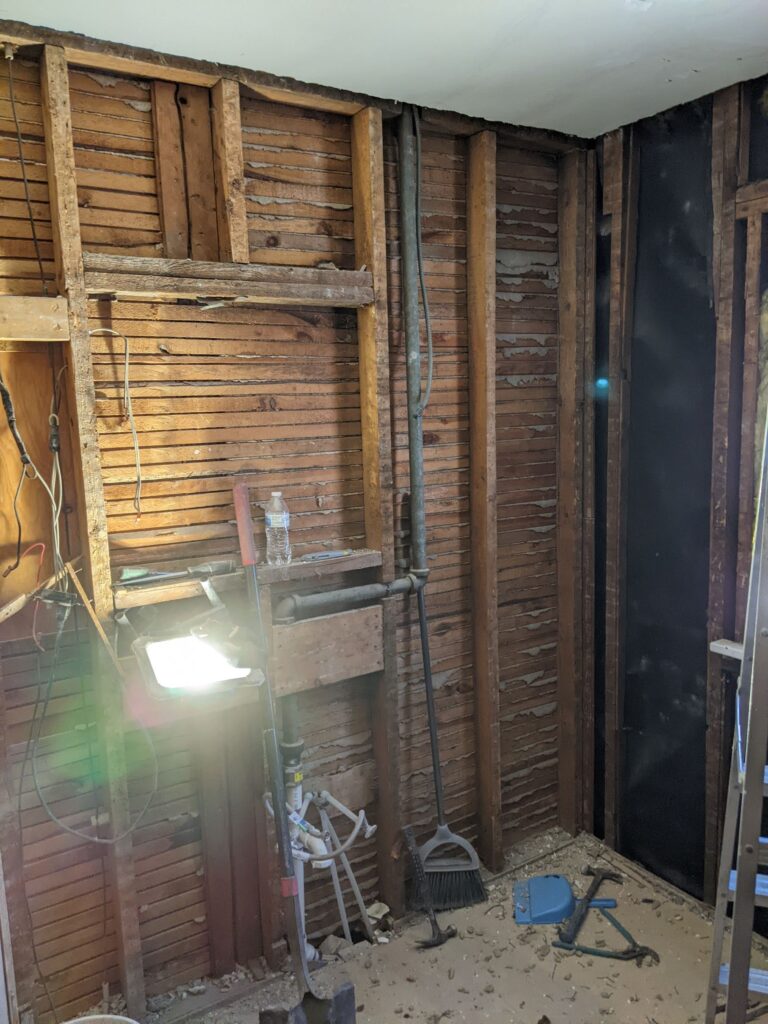
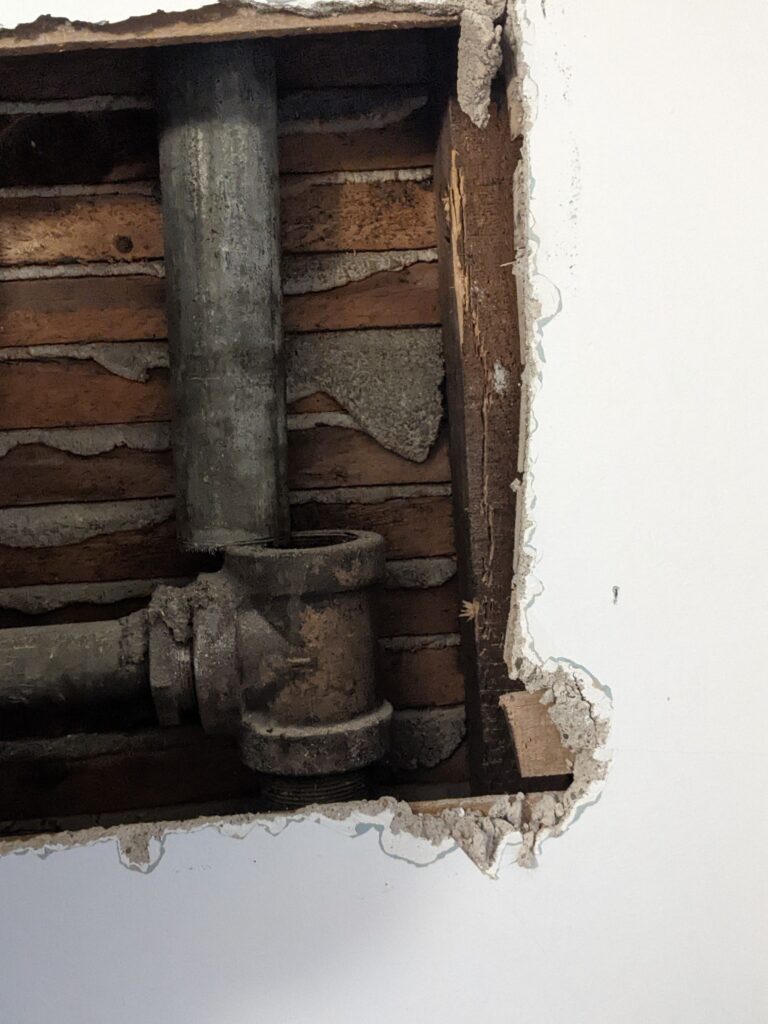
- some questionable plumbing.
So we agreed pretty quickly that we needed professional help. But because of our financial concerns, we really just wanted to install a shower and fix the biggest, most visible issues.
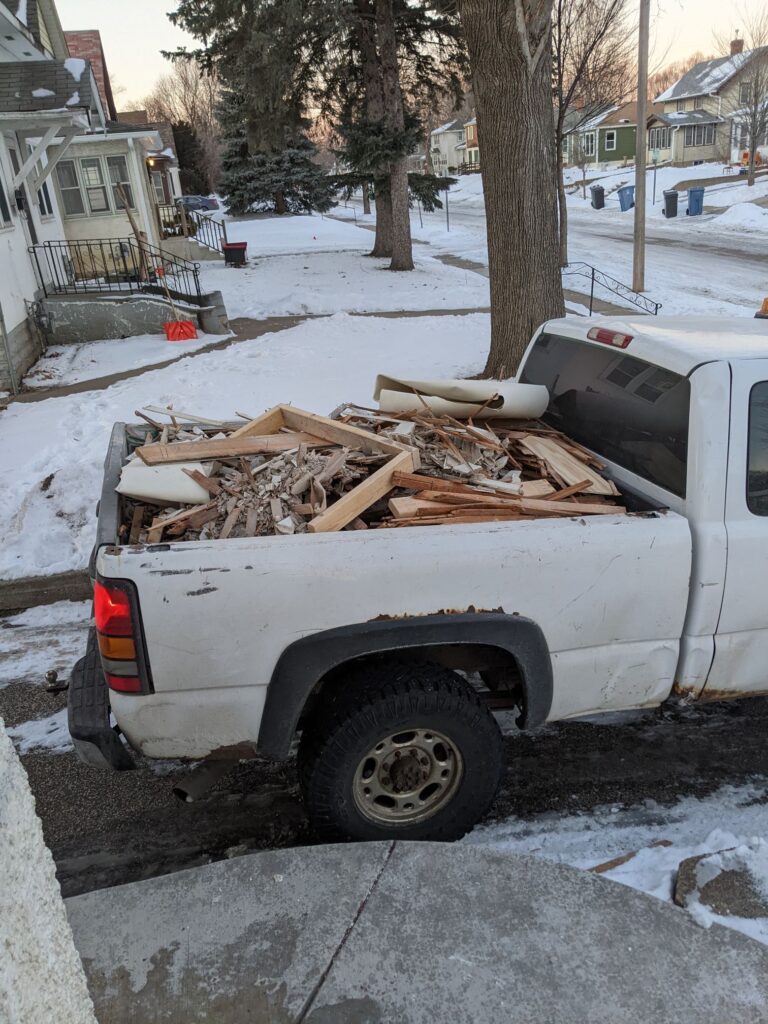
That went out the door as soon as our contractor saw the space. He came in and immediately pointed out several reasons why we should go ahead and update the entire bathroom:
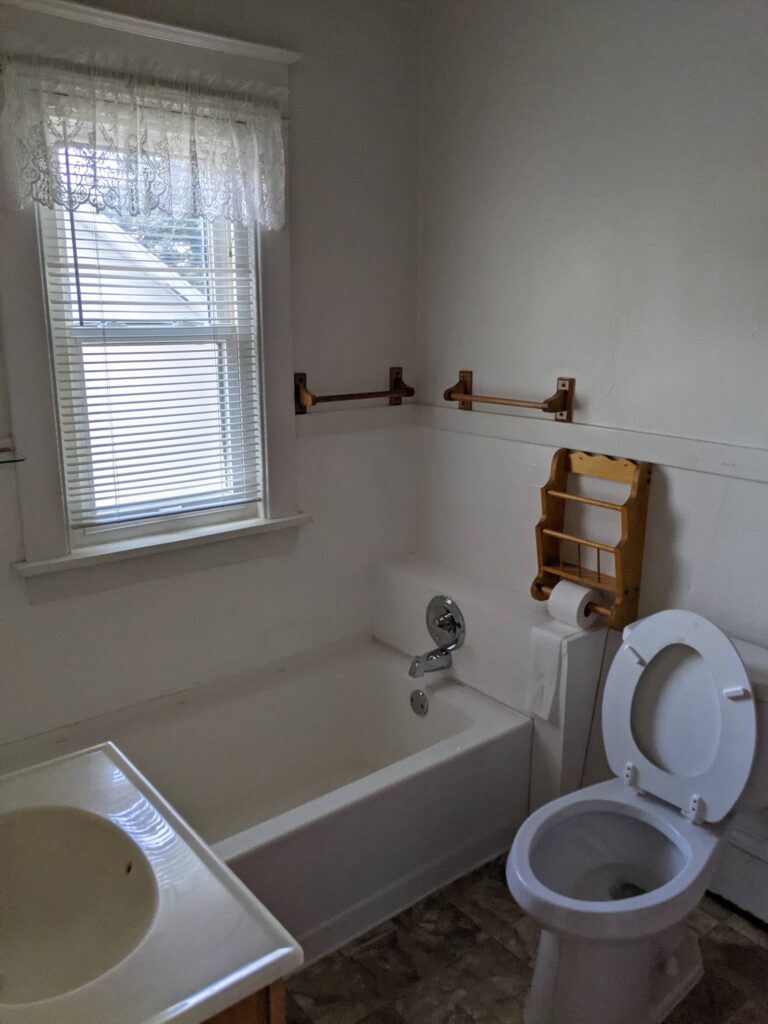
- removing the 9 (!!!) towel bars would cause significant damage to the plaster walls,
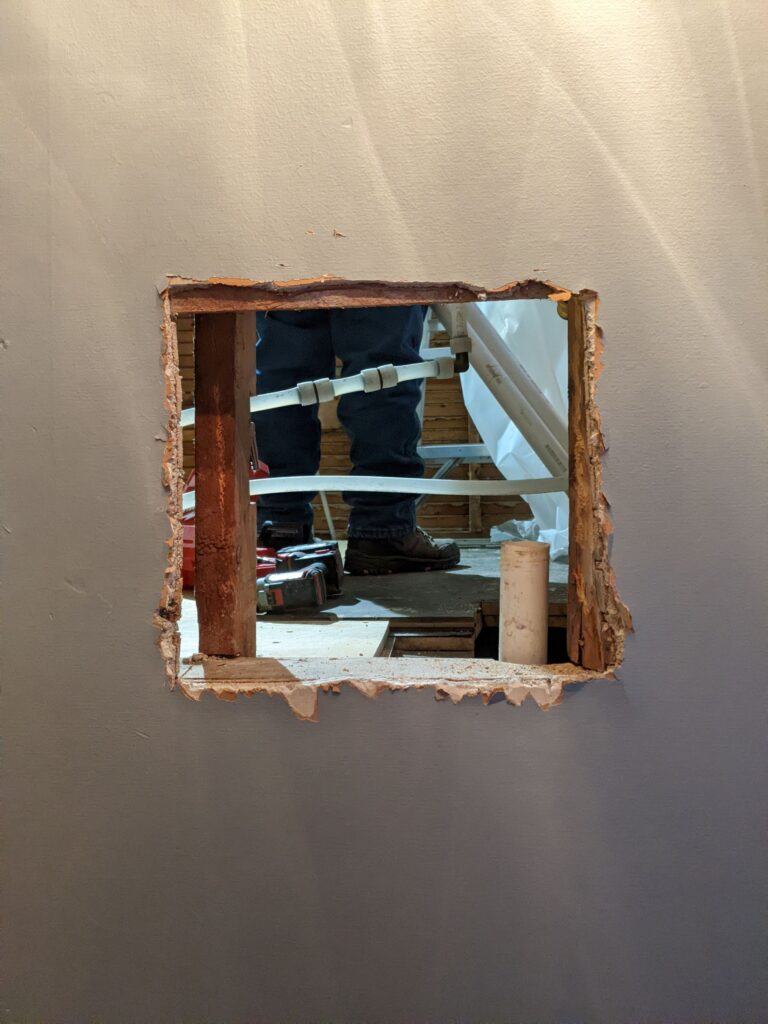
- addressing the hole in the ceiling would likely uncover some new problems,
- we’d need to add a ceiling exhaust fan to reduce moisture,
- the cabinet and sink were too short and needed to be replaced,
- the tub needed to be replaced, and
- adding a light switch for the new fan would be no small job.
After some hand-wringing about spending so much of our available cash on this project when we weren’t sure if anything else might come up we moved forward with the full remodel, relying on our contractor to manage permits and subcontractors while we took on the design.
Small Bathroom Design – Overruling the Contractor
The square footage of our bathroom is large for a house of this era but it’s really small compared to any other bathroom that we’ve owned. We decided to work from a design that maximizes the available space while making the bathroom feel larger than it actually is. Our keywords for the space were light and airy.
Meanwhile, our contractor also came in with a point of view that focused on function and affordability. He wanted to fill in the window and build a shallow wall behind the tub to add some storage and enclose the shower area. In short, he wanted to build a very functional, but very small feeling box.
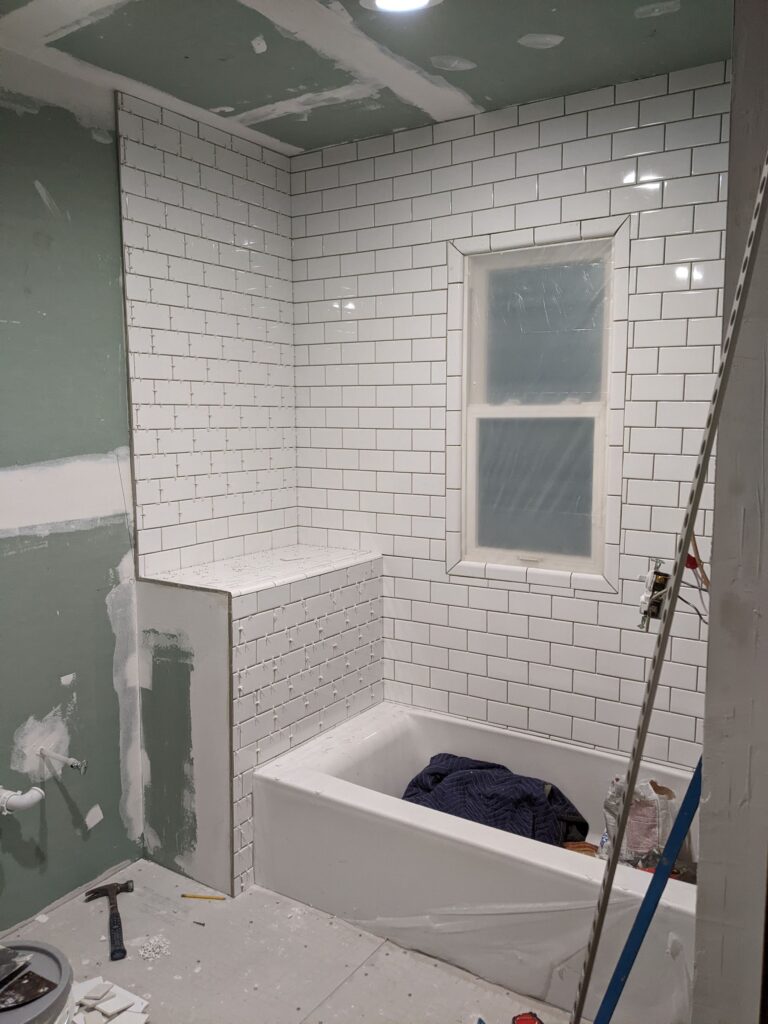
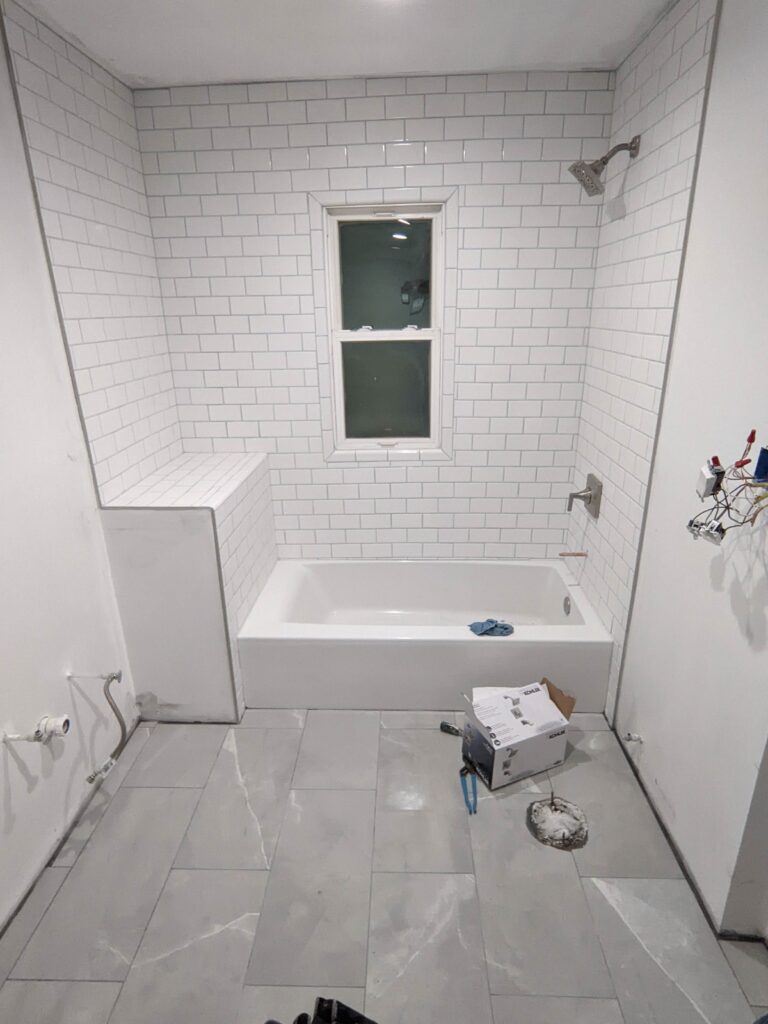
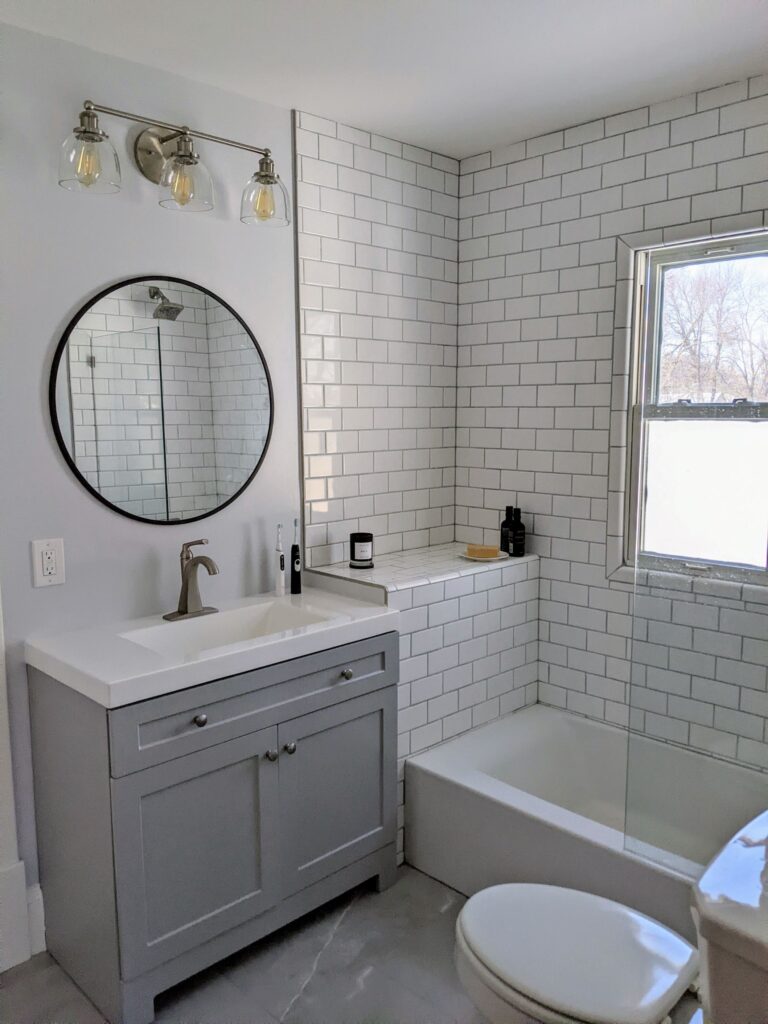
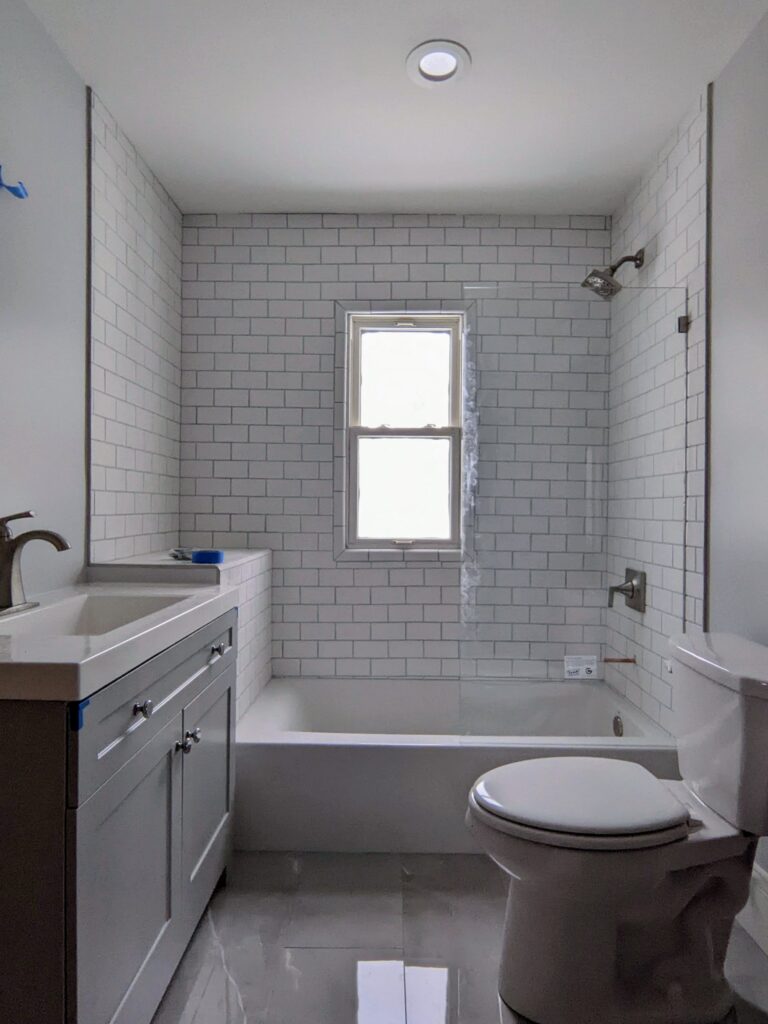
We overruled the contractor and kept the window. We also sacrificed some storage in order to make the space feel more open. Instead of going with the contractor’s idea of a wall up to the ceiling behind the tub, we opted for a tiled shelf that was built back to the wall. We lost out on the storage cabinet that would have been built into the wall behind the tub, but the uniform wall behind the sink and tub contribute to the spacing feeling larger than it is.
We’re two grown men sharing a single bathroom. You’re damn right we’re keeping the window.
Jerome
Going without a traditionally enclosed tub also meant that we couldn’t use a typical tension rod to enclose the shower. We solved that by enclosing the shower with a glass wall. Using glass brings a modern touch to the space that is otherwise pretty traditional. It also allows the light from the window to shine through the whole room, which helps the room feel larger than it actually is. And as a bonus, the glass wasn’t that expensive! We got it from Wayfair for under $300! (this is where wayfair affiliate link would go if I were a wayfair affiliate)


Colors
We wanted our small bathroom to feel larger than it is so we chose colors that would mimic the colors seen outside the window. That limited us to shades of blue and shades of white. We went for a calming blue that I closely associate with a cold Minnesota morning and a stark, snowy white.
These colors do a lot of things at the same time. First, they make you feel like the space outside of the window is actually part of the room. When you’re next to the window, you almost get the sensation of showering outside. Second, the white subway tile contributes to a feeling of cleanliness which is always helpful in a bathroom. And third, the gray color in the grout, tiles, and fixtures contribute to a sense of overall cohesion. Everything works together except for the frame around the mirror. Using black as our pop of color in the bathroom adds another unexpected modern touch to the design.
Tile
The tile is probably the most controversial part of the bathroom. The colors are perfect, the size is great, but the tile is cold. You step onto that tile with your bare feet and you’ll immediately hop onto the floor mat. It’s like a light prompt to hurry along and hop into the warm shower. It was a complete accident and we probably wouldn’t have chosen the tile if we’d considered that it might nip at our toes in the morning.
Fixtures
Our faucets and hardware all brushed nickel (or brushed chrome?). We thought that a reflective finish would catch the eye in a way that would be distracting. This was an easy, intuitive choice.
Bottom Line Design
In total the bathroom took about 6 weeks, $6,000 in labor, and $3,000 in materials. The contractor took the room down to the studs, replaced some of the studs to straighten the walls, corrected some plumbing issues left by the previous owner, and added in a switch for the lights and the fan. We think that price was very reasonable.
To keep costs down we intentionally used materials that were in stock at Home Depot. We also took advantage of a special offer on the Home Depot credit card to finance the project over an extended period of time at 0% interest.
First Time Fails
The original bathroom had 9 towel bars. Ironically, we forgot to plan for a towel bar and continue to hang our towels on a hanger behind an adjacent room to this day. We also store our unused towels in an adjacent room.
Discover more from Jerome Evans
Subscribe to get the latest posts sent to your email.
